“Multix” Documentation by “xicia” v1.0
“Multix - Multipurpose Website CMS with Codeigniter”
Created: Mar 03, 2019
By: Xicia
Email: demosly99@gmail.com
Thank you for purchasing our script. If you have any questions that are beyond the scope of this help file, please feel free to contact us via the support section of codecanyon or email us here: demosly99@gmail.com.
Table of Contents
- Introduction
- Features
- Requirements
- Installation
- Back End Login
- Dashboard
- Settings
- Page
- Language
- News Category
- News
- Comment
- Event
- Subscriber
- Team Member
- Slider
- Testimonial
- Photo Gallery
- Pricing Table
- Portfolio Category
- Portfolio
- Client
- Service
- Feature
- Why Choose Us
- FAQ
- Social Media
- Support
- Credit
1) Introduction - top
Multix is a responsive, user-friendly and easy-to-use content management system that is built with the popular Codeigniter framework. Using this CMS, you can easily build a nice, modern and clean website that have almost all the pages like team member, about, service, portfolio, news, event, contact etc. You can build education website, lawyer website, gym and fitness website etc. what you want to do.
This CMS is developed using the popular PHP framework Codeigniter. So, it can be easily customized by other programmers. Developers will be able to understand the source code easily and can modify the database and files if needed.
This script/CMS is strong against most vulnerabilities on the web like SQL injection attack, XSS attack etc. Also admin level security is implemented whereever necessary.
2) Features - top
This CMS has some awesome features. We are giving those below:
- Easy and simple interface
- Fully responsive
- Clean codes
- Direct access stopped for page
- Invalid url protected for page
- Data statistics in dashboard
- Language Setup Option
- Unlimited Color Options
- Manage team members by admin
- Manage portfolios by admin
- Manage testimonials by admin
- Manage services by admin
- Manage photo gallery by admin
- Manage meta title, keyword and description for all pages
- Manage news and categories by admin
- Manage events by admin
- Manage pricing tables by admin
- Easy installation on server
- Forget password option for admin panel
- Email setup option by admin
- Secured against SQL injection
- Secured against XSS attack
- Secured against CSRF attack
3) Requirements - top
Before starting to install our item, make sure you fulfill the following requirements:
- PHP Version >= 7.0
- MySQL Version >= 5.6
- GD Library Enabled
- mod_rewrite Enabled
- CURL Module Active
- allow_url_fopen Enabled
- file_get_contents Enabled
- Php Exec Enabled
4) Installation - top
In order to install the CMS, please follow these steps:
- Unzip the file you download from Envato.
- Search for the folder cms in the main script folder that you have downloaded.
- Now upload the cms folder into your server using FTP.
- Alternately you can zip the cms folder and upload it to server via cpanel. Then extract this and use.
- You can use our cms into root domain or subdomain.
- Become sure that you have uploaded the .htaccess file correctly. When you will extract the zip file staying on server via cpanel, the .htaccess file may not be extracted properly in the server and then the script will show error. So after extracting, you may have to manually upload the .htaccess file into the server that comes with the script file.
- Create mysql database using cpanel or your hosting provider's system. Then import the multix.sql file (that you got into the script's database folder) into your created database.
- Now you will have to setup the config and database file. If you are familier with codeigniter, you should know about it. But don't worry! We will tell step by step.
- Go to the cms folder, then application and then config folder.
-
You will get two files config.php and database.php
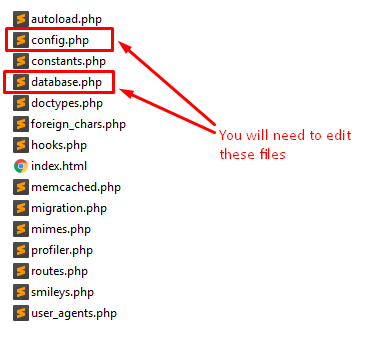
- Open up these files with any text editor (for example: notepad++).
- In config.php file, make these changes:
-
Change the indicated values of photos like this:
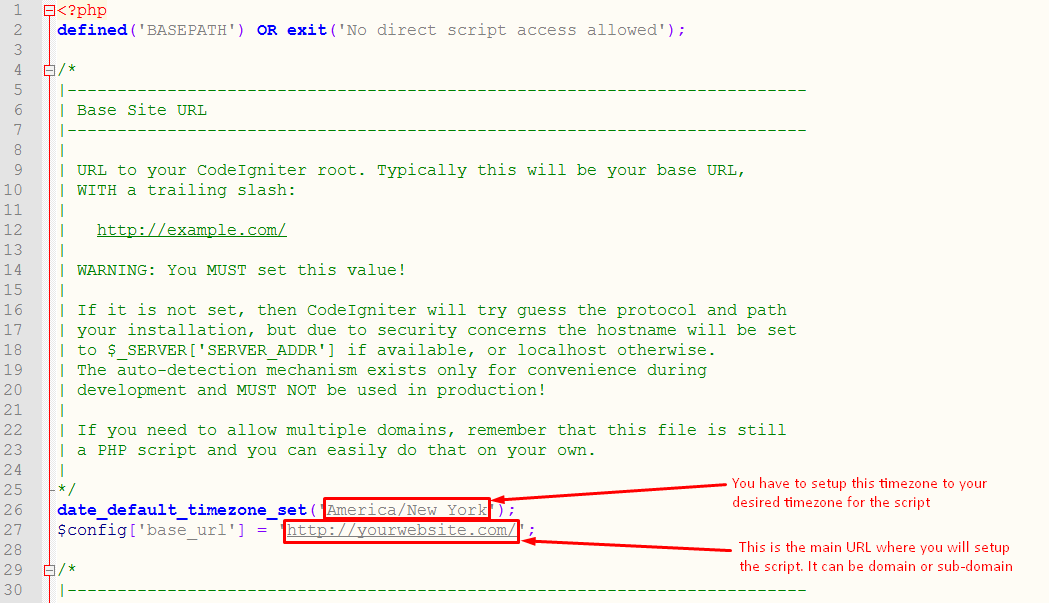
[NB: Do not forget to put the trail slash in the URL, otherwise the script will not work.]
- In database.php file, make these changes:
-
Change the indicated values of photos like this:

5) Back End Login - top
Admin Login (Back end)
URL: http://www.yourwebsite.com/admin/
[ You have to add the extra admin after your main website url to access the admin panel ]
Username: admin@gmail.com
Password: 1234
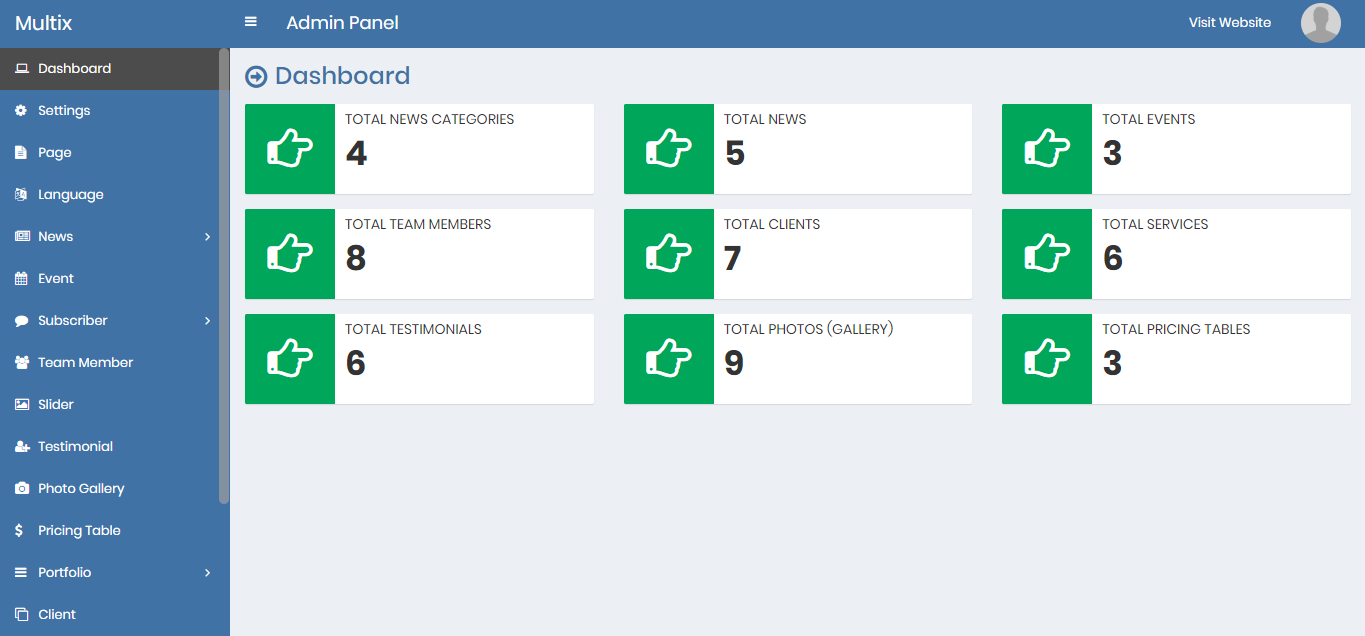
6) Dashboard - top
In the dashboard, you will get all the necessary data in one place like total news, total events, total services etc.
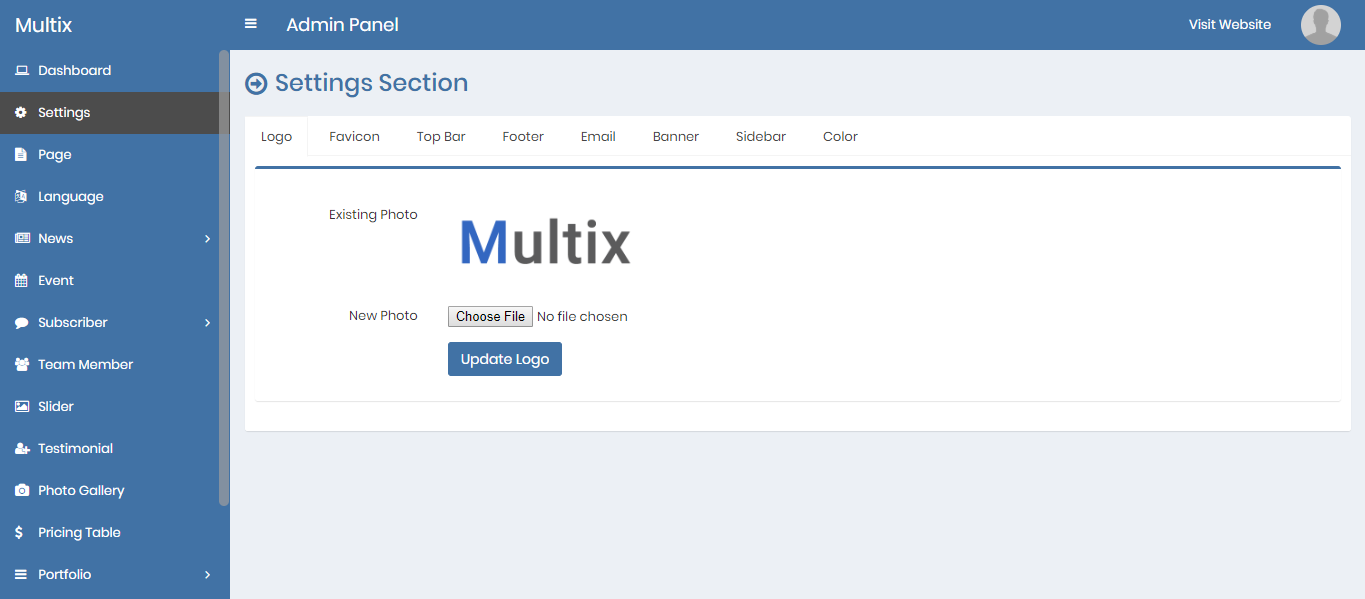
7) Settings - top
You can change logo, favicon, top bar content, footer settings, email settings, banner settings, sidebar settings and color settings from settings.
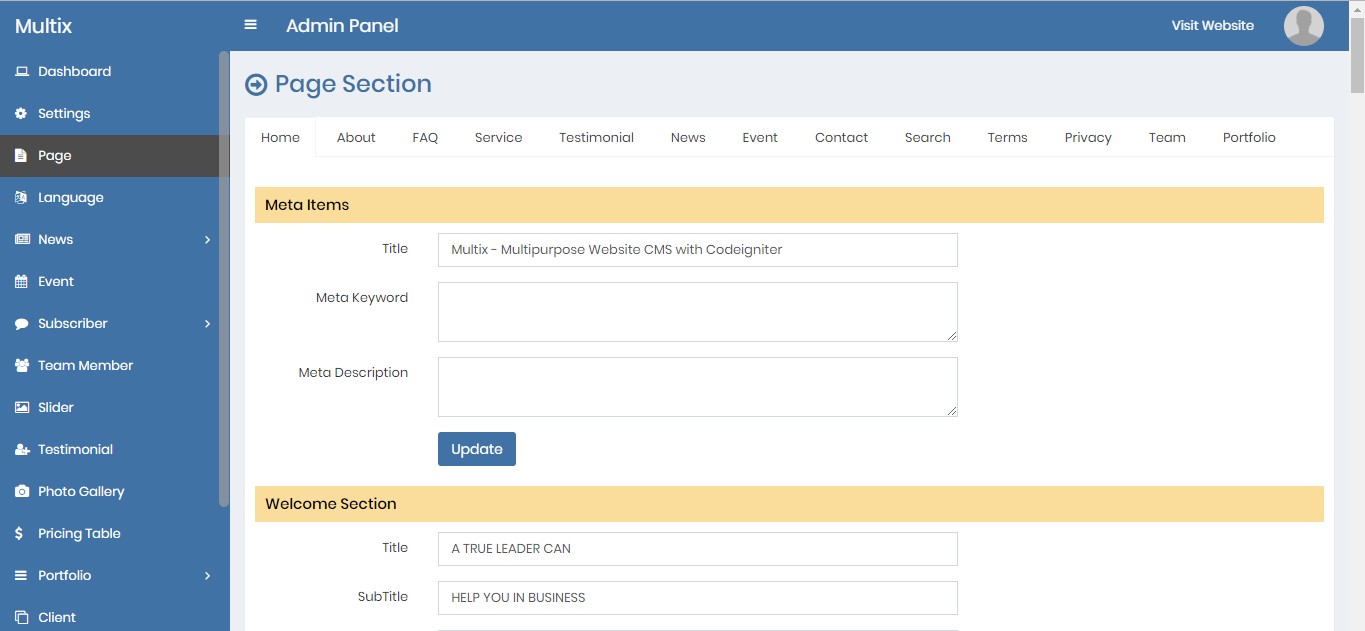
8) Page - top
Admin can change all the front end page information, meta information etc. going to this option.
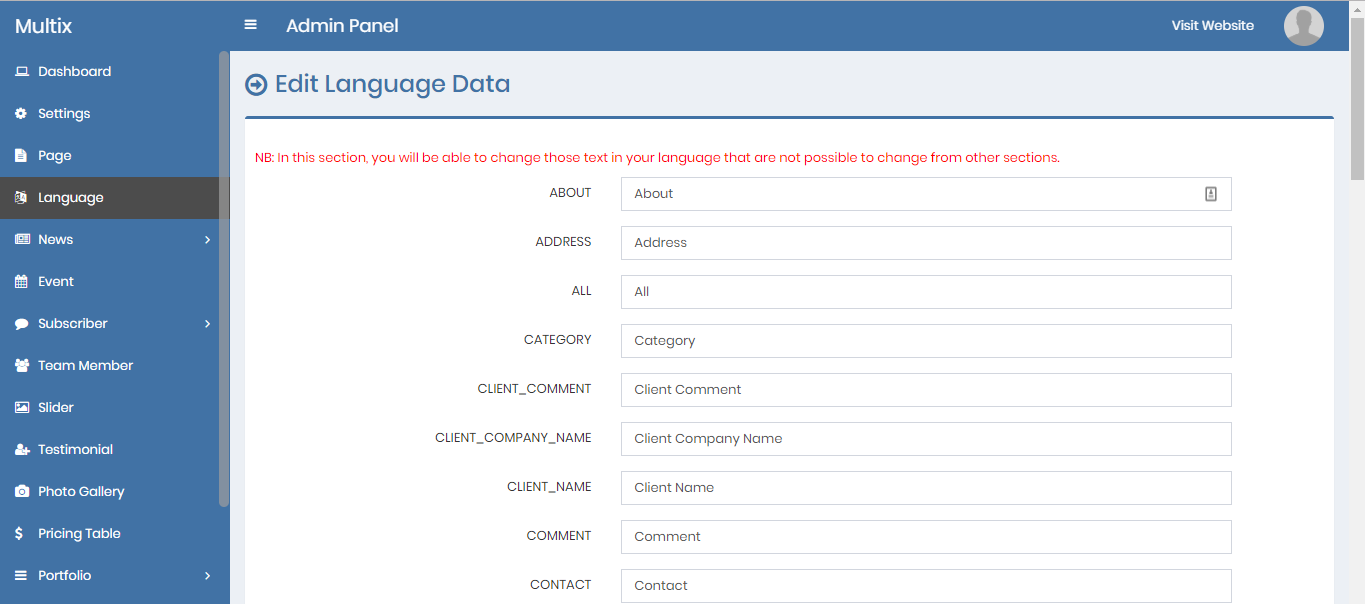
9) Language - top
Admin can change the language data (according to his/her own language) going to the language option.
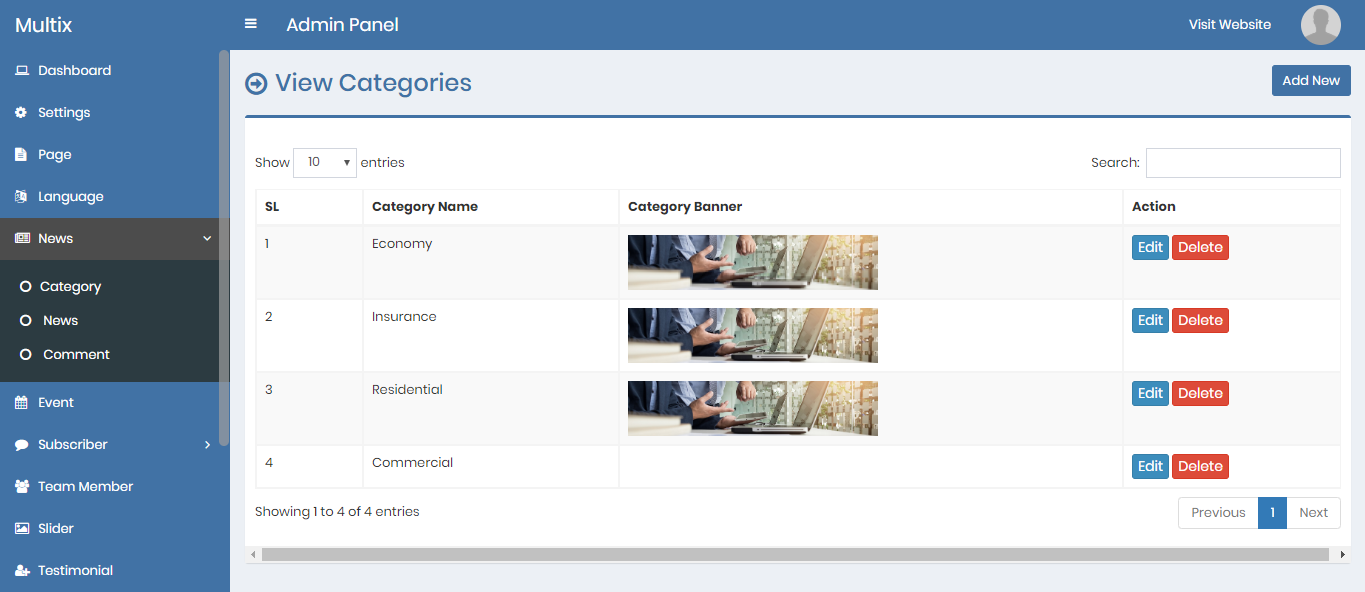
10) News_Category - top
Admin can add, edit and delete news categories.
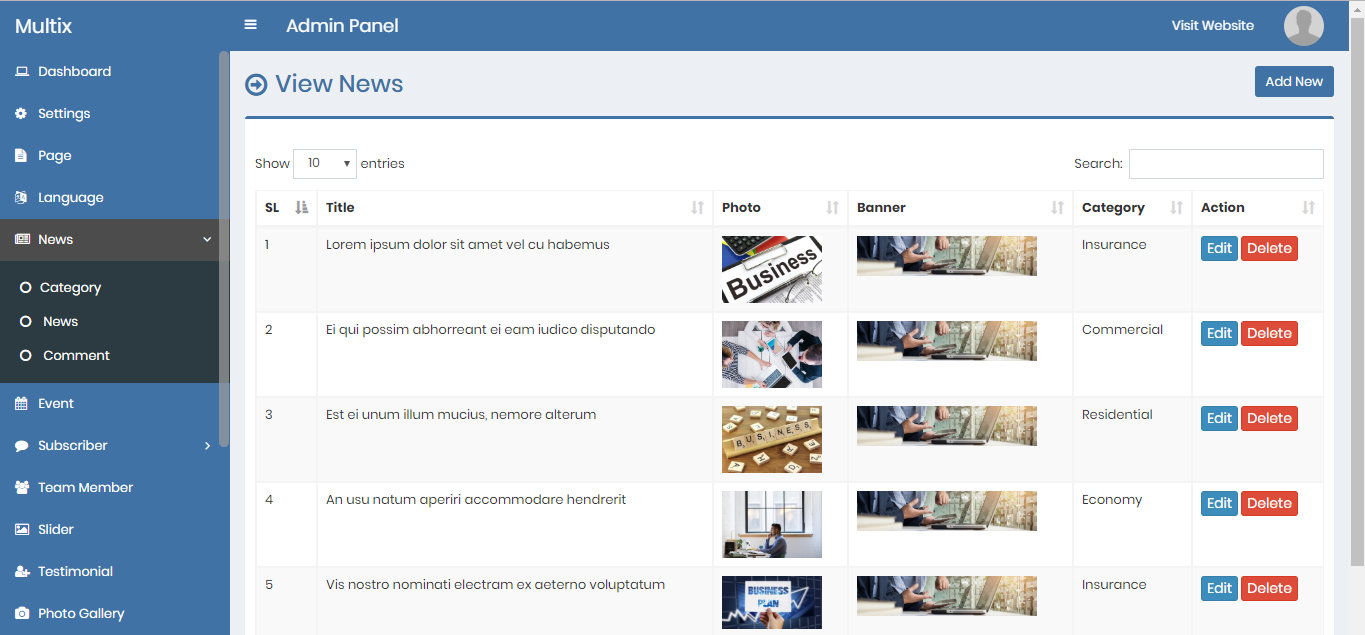
11) News - top
Admin can add, edit and delete news items.
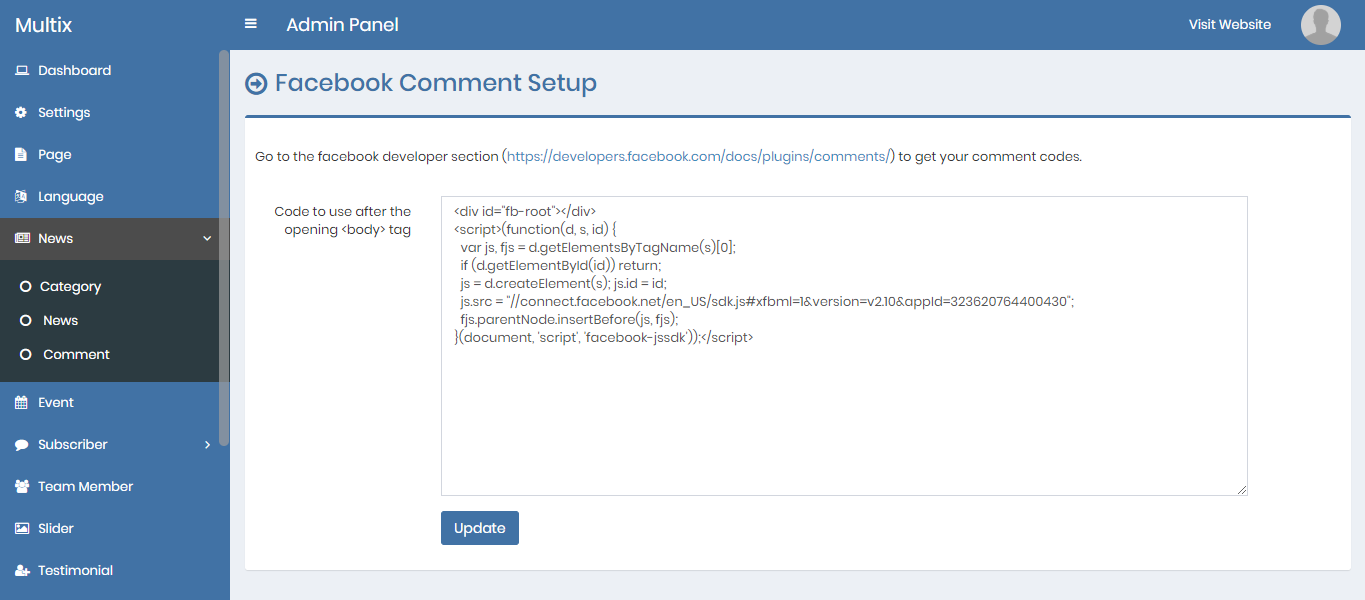
12) Comment - top
In this CMS, facebook comment system is used to show all the comments under a particular news. Admin can edit the comment data (code from facebook).
13) Event - top
Admin can add, edit and delete events.

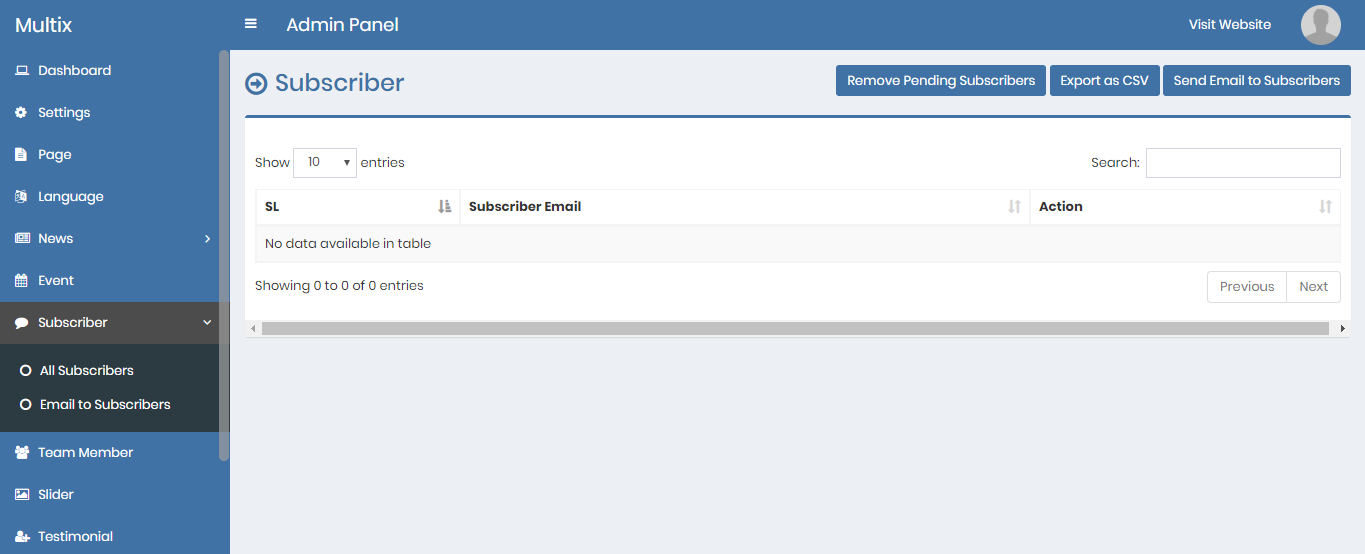
14) Subscriber - top
Admin can see all the aumated subscribers. Admin can also delete a subscriber and can export all the subscriber data.
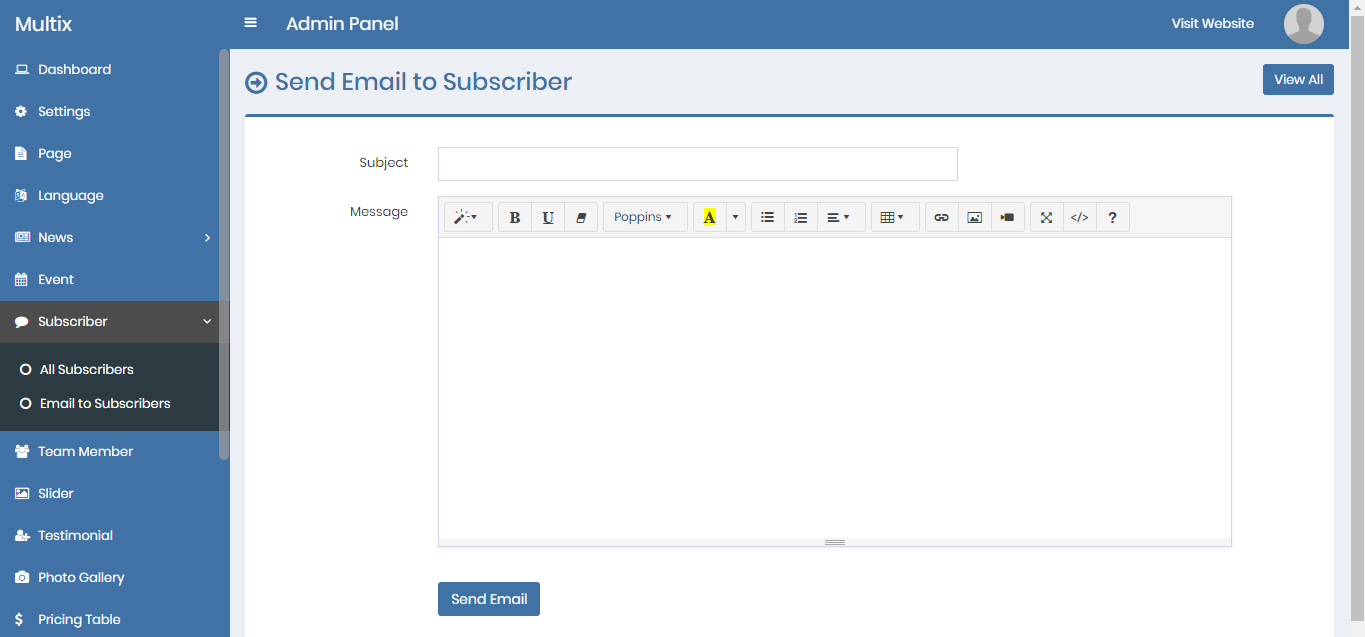
Admin can send email to all subscribers.
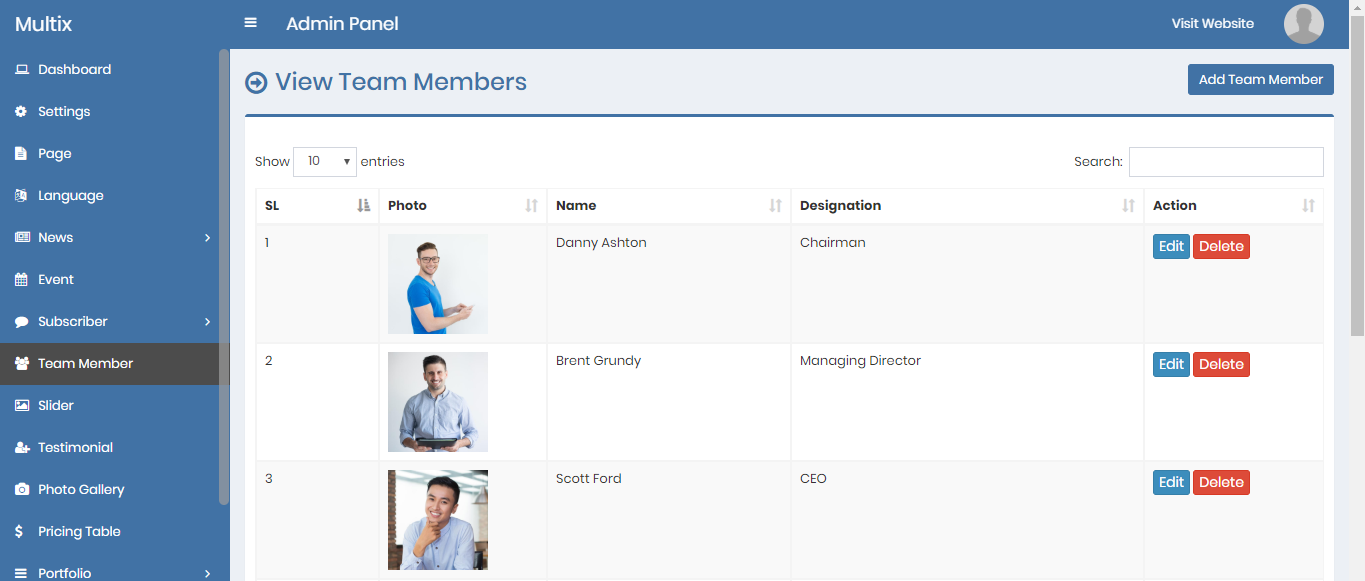
14) Team Member - top
Admin can add, edit and delete team members.
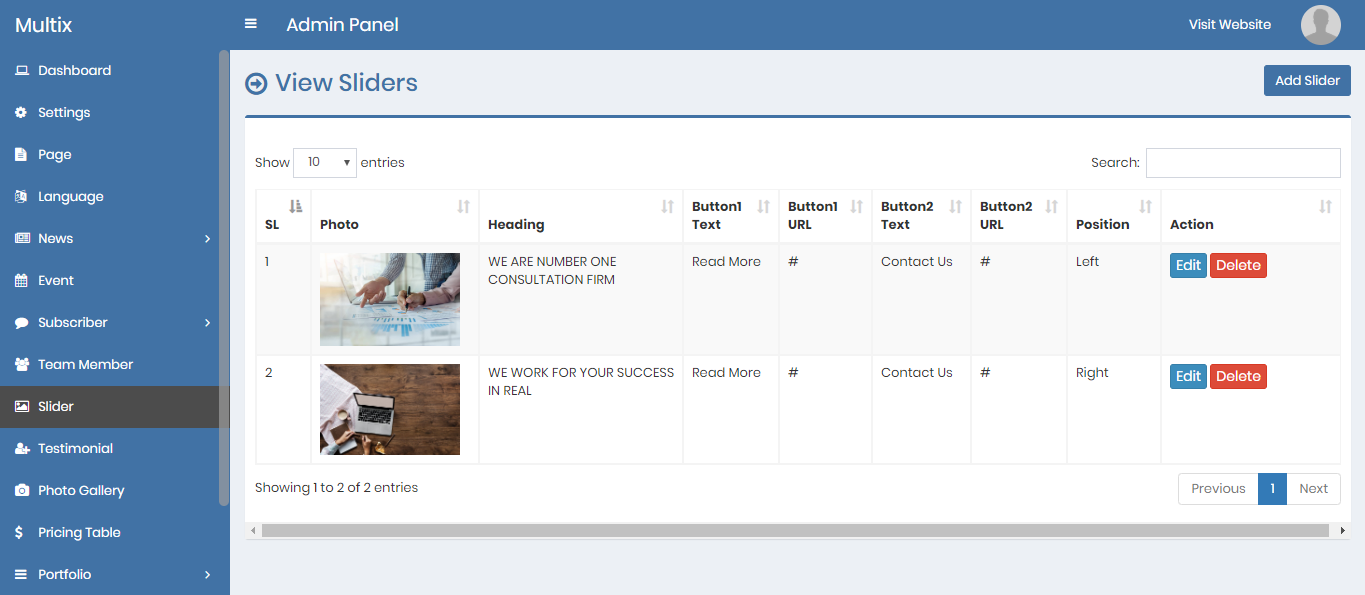
14) Slider - top
Admin can add, edit and delete sliders.
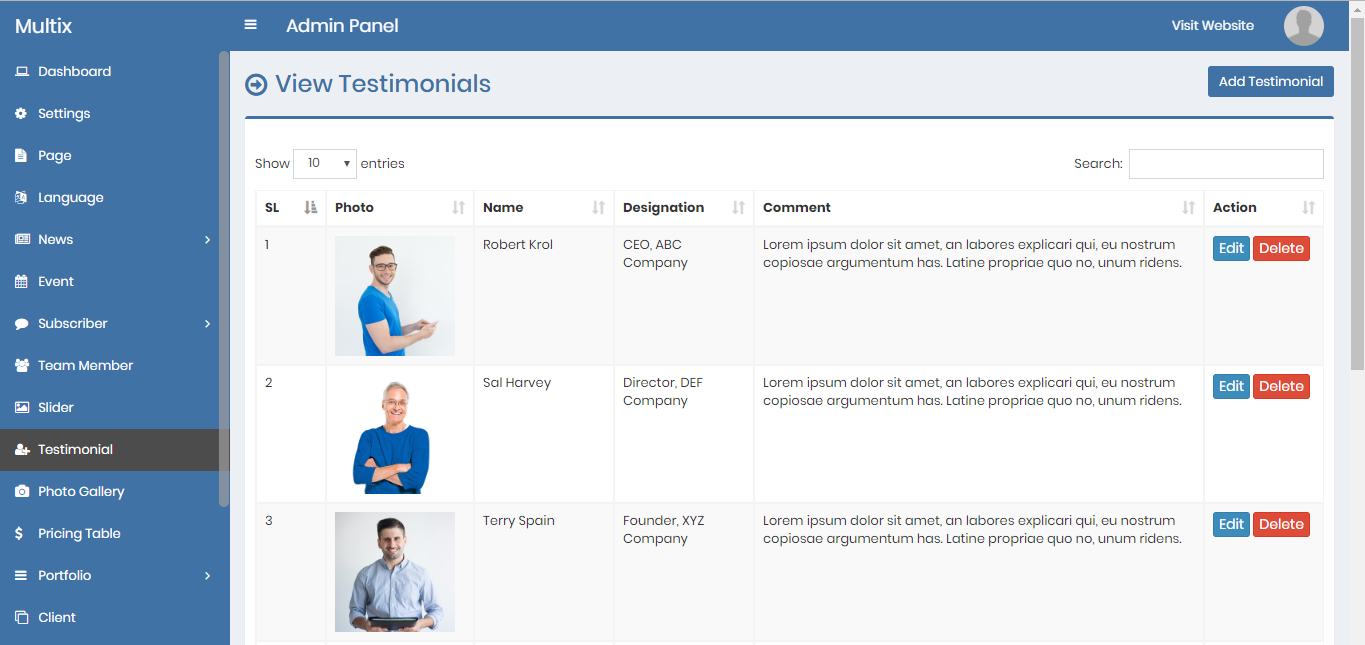
14) Testimonial - top
Admin can add, edit and delete testimonial.
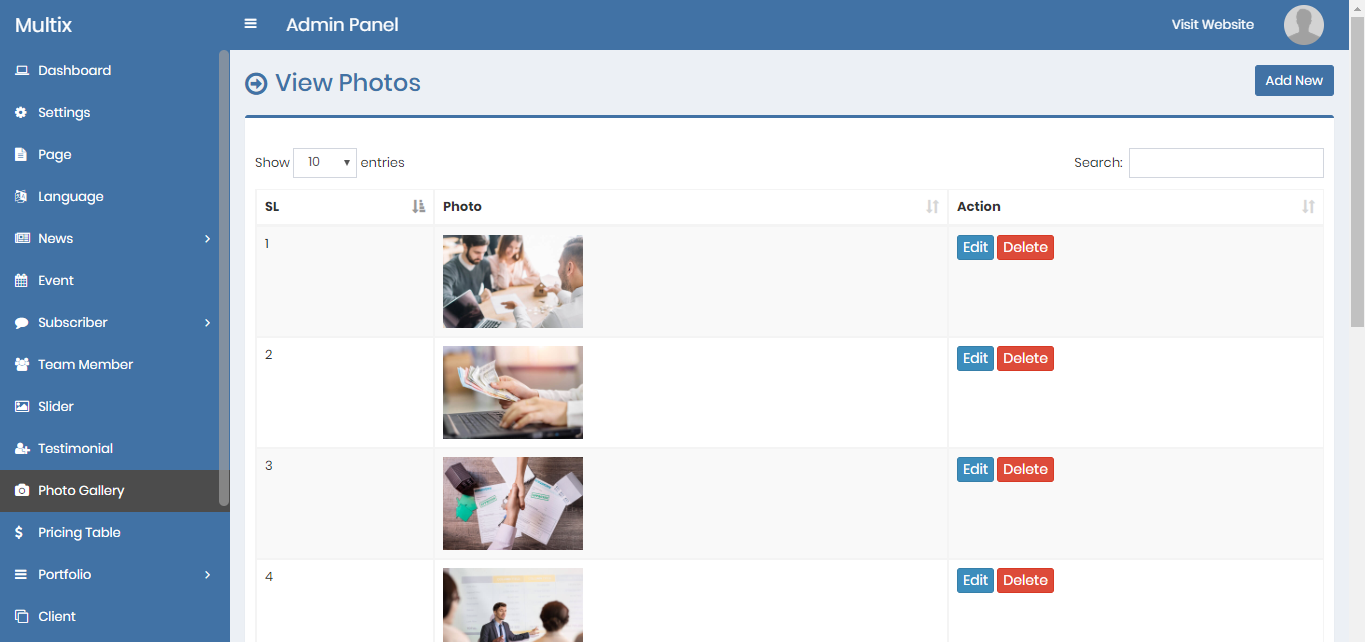
14) Photo Gallery - top
Admin can add, edit and delete photos for gallery.
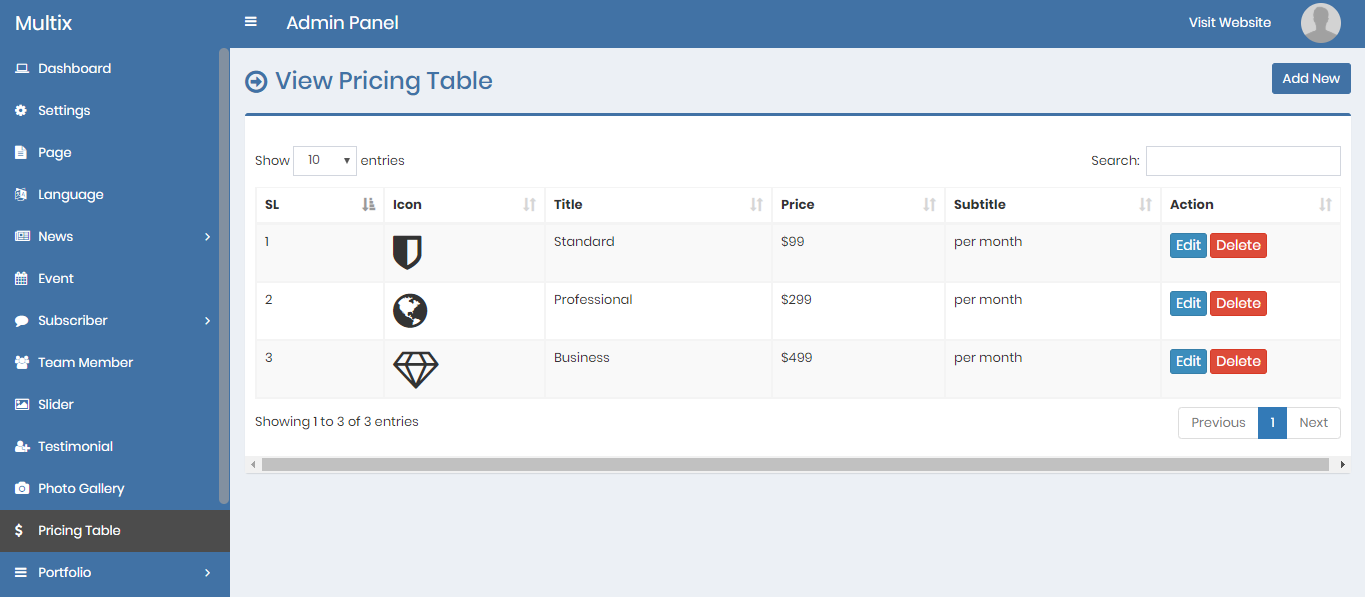
14) Pricing Table - top
Admin can add, edit and delete pricing table items.
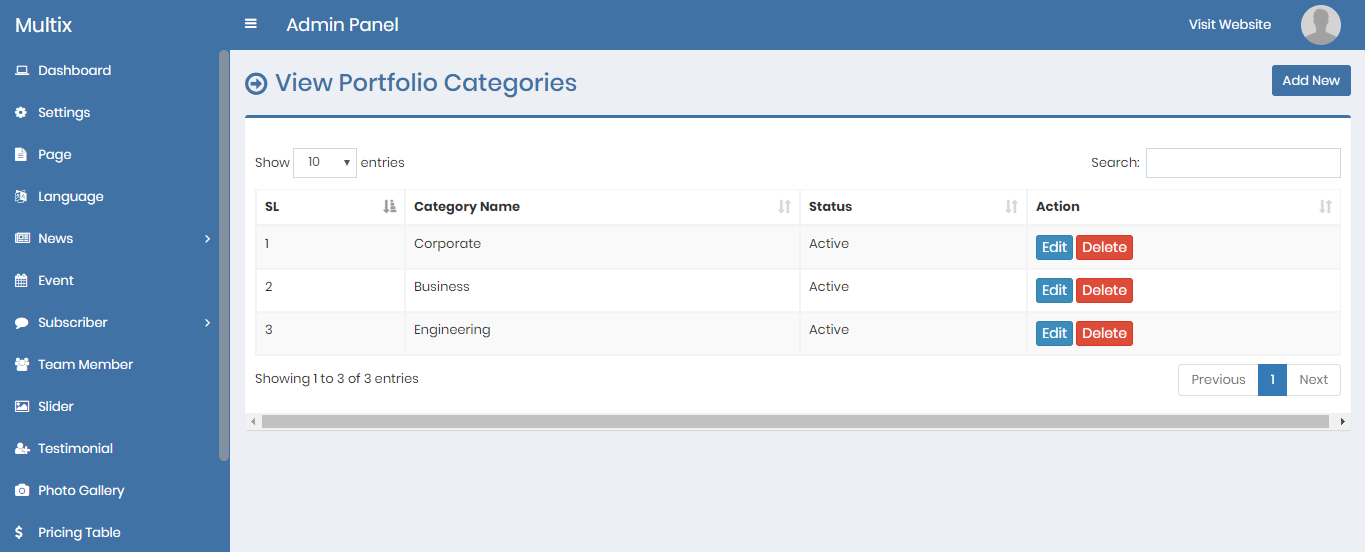
14) Portfolio Category - top
Admin can add, edit and delete portfolio categories.
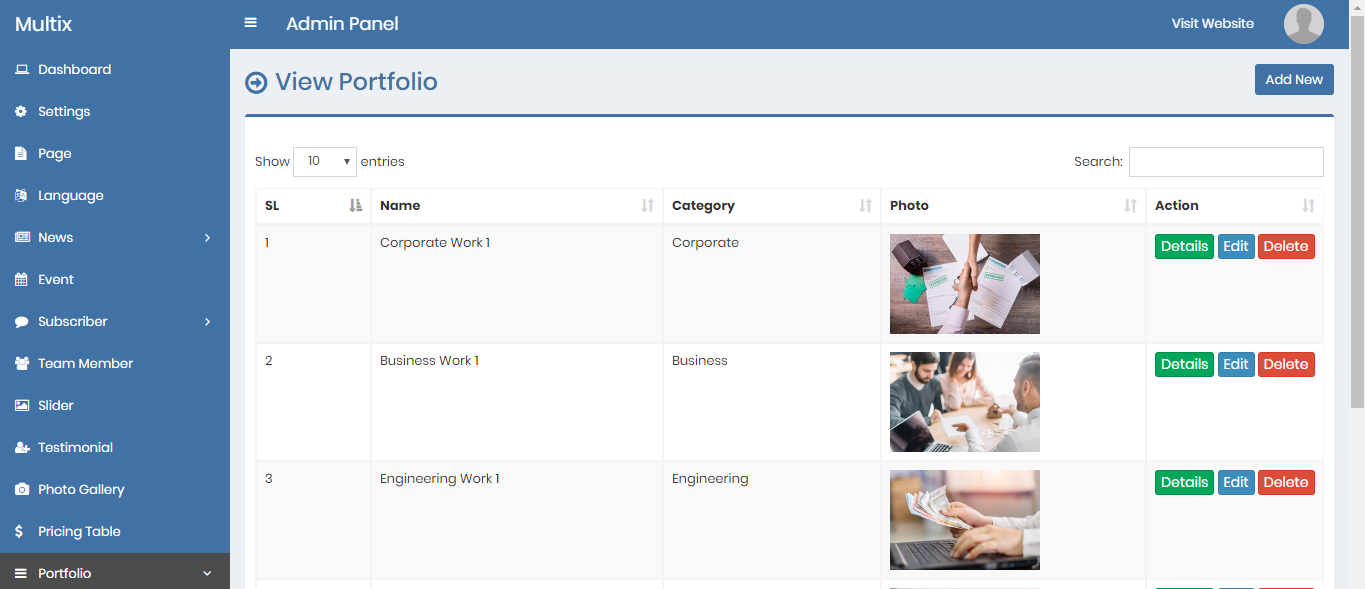
14) Portfolio - top
Admin can add, edit and delete portfolio items.
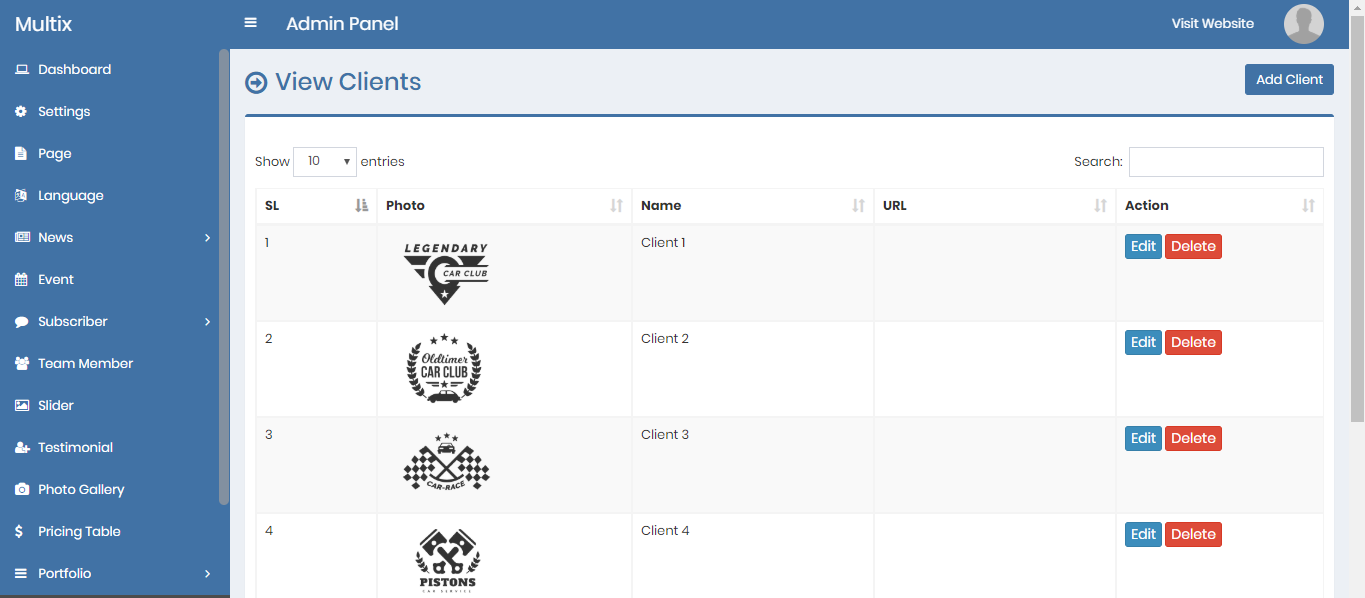
14) Client - top
Admin can add, edit and delete client company logos.
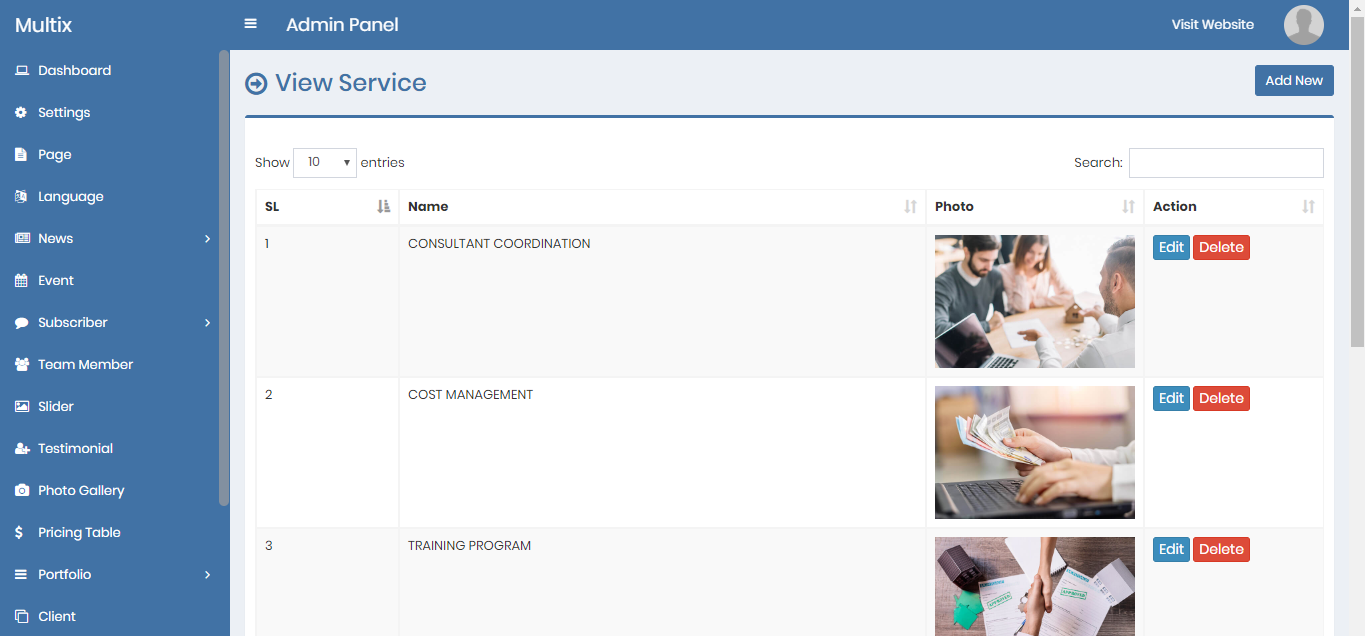
14) Service - top
Admin can add, edit and delete services.
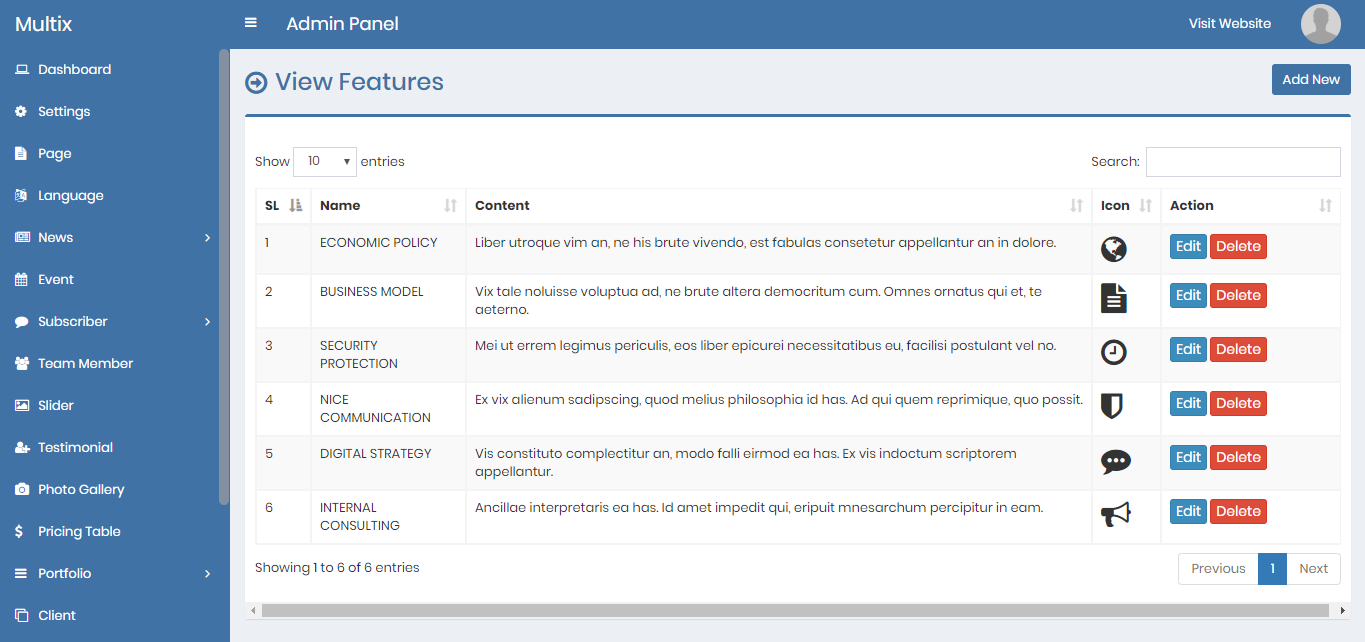
14) Feature - top
Admin can add, edit and delete features.
14) Why Choose Us - top
Admin can add, edit and delete why choose us.

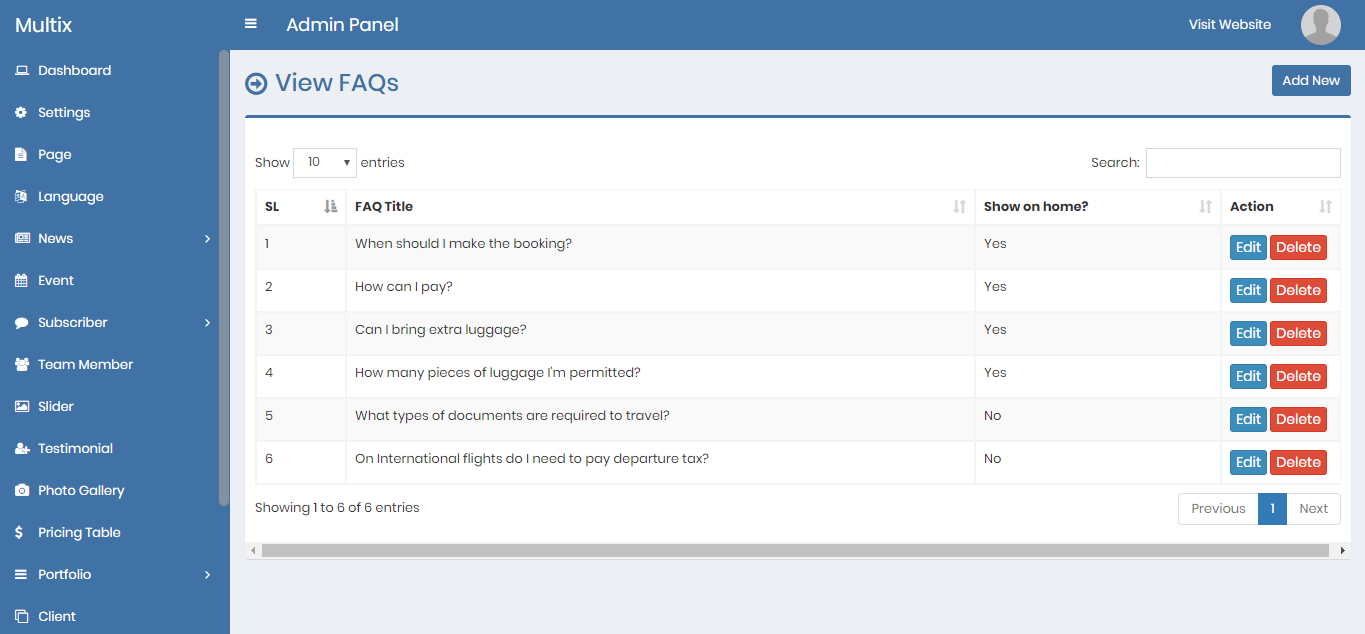
14) FAQ - top
Admin can add, edit and delete FAQ
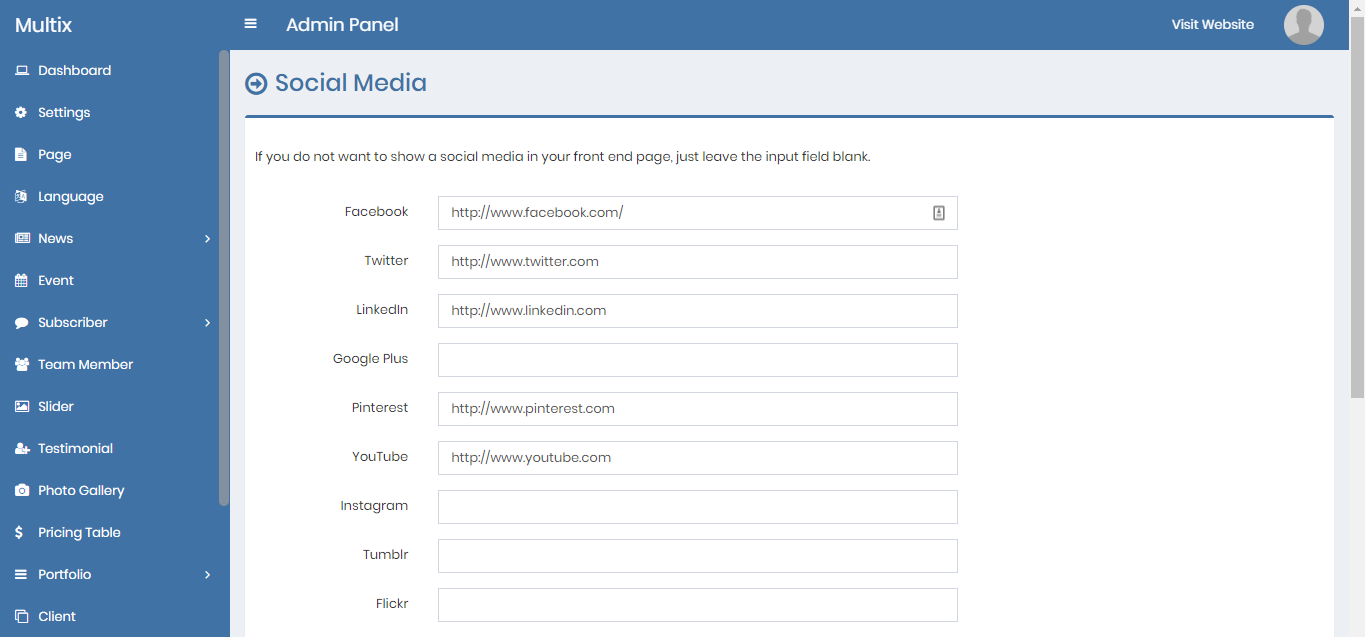
14) Social Media - top
Admin can edit the social media items. If an item is keep blank that will not be shown on the footer.
14) Support - top
You can communicate us via the support section of Envato or send us an email here:
demosly99@gmail.com